Showing posts with label tutorials. Show all posts

DIY tutorial: COVID protective barriers


Brian and I made two light-weight plexiglass barrier shields for COVID-safe Girl Scout cookie booths! They cost about $30 each in materials at this size. 

The idea is that they are freestanding but they can also be clamped to the table for wind. They are 28x30 plexi with a 3” opening to slide their cookie orders through — I’m calling that the “Covid Cookie Connector”. 


Material list (makes two barriers):

*2 pieces 28x30” plexi (~$19 each)

*one 8 foot length aluminum angle 1/16 x 3/4 (from hardware store sheet metal section) (~$11)

*machine combo screw/nut round #6 32 x 3/8” (10 per screen: 1 box of 100 ~$5)

*drill with a corresponding drill bit for selected screws; optional reamer bit 

*phillips head screwdriver

*hacksaw

*measuring tape

*marker 

*sandpaper

*scrap wood for drilling block

*safety goggles, duh

sheet metal section
This is what the sheet metal section looks like.


Step 1: 

Take your 8 foot length of aluminum and measure & mark four (4) 16" lengths and four (4) 8" lengths. Use your hacksaw to cut these marked lengths.  

Remember, this is making two barriers. If you're only making one barrier, use a 4' length to start and cut half the amount of pieces. This is full customizable to any size or amount needed -- Play around and have fun!


Step 2: 

We're going to start drilling holes for feet -- for the left side, put the end of one 16" length perpendicular to the center of one 8" length. *Keep in mind that you want the foot (8") to have its L angle facing like a proper L for this side.  The interior upright 16" length should have one side touching the interior outer edge of the foot and its other side furthest away from you. With these sandwiched together on the side and on top of your scrap wood, drill a hole in the center of their meeting point.  Attach screw from the outside and nut on interior.

Repeat MIRROR IMAGE orientation with to create the right side. 


Step 3: 

We're going to start drilling holes through the side uprights to hold the plexi on. We wanted to have a pass-through opening on the bottom that would fit a box of Girl Scout cookies so we gave a 3" clearance.

From the bottom of both 16" uprights, on the L angle furthest from you, measure 3" upwards and mark with a line, continue to measure up every 3" with a dot in the center of the aluminum. Repeat on the right side aluminum.  

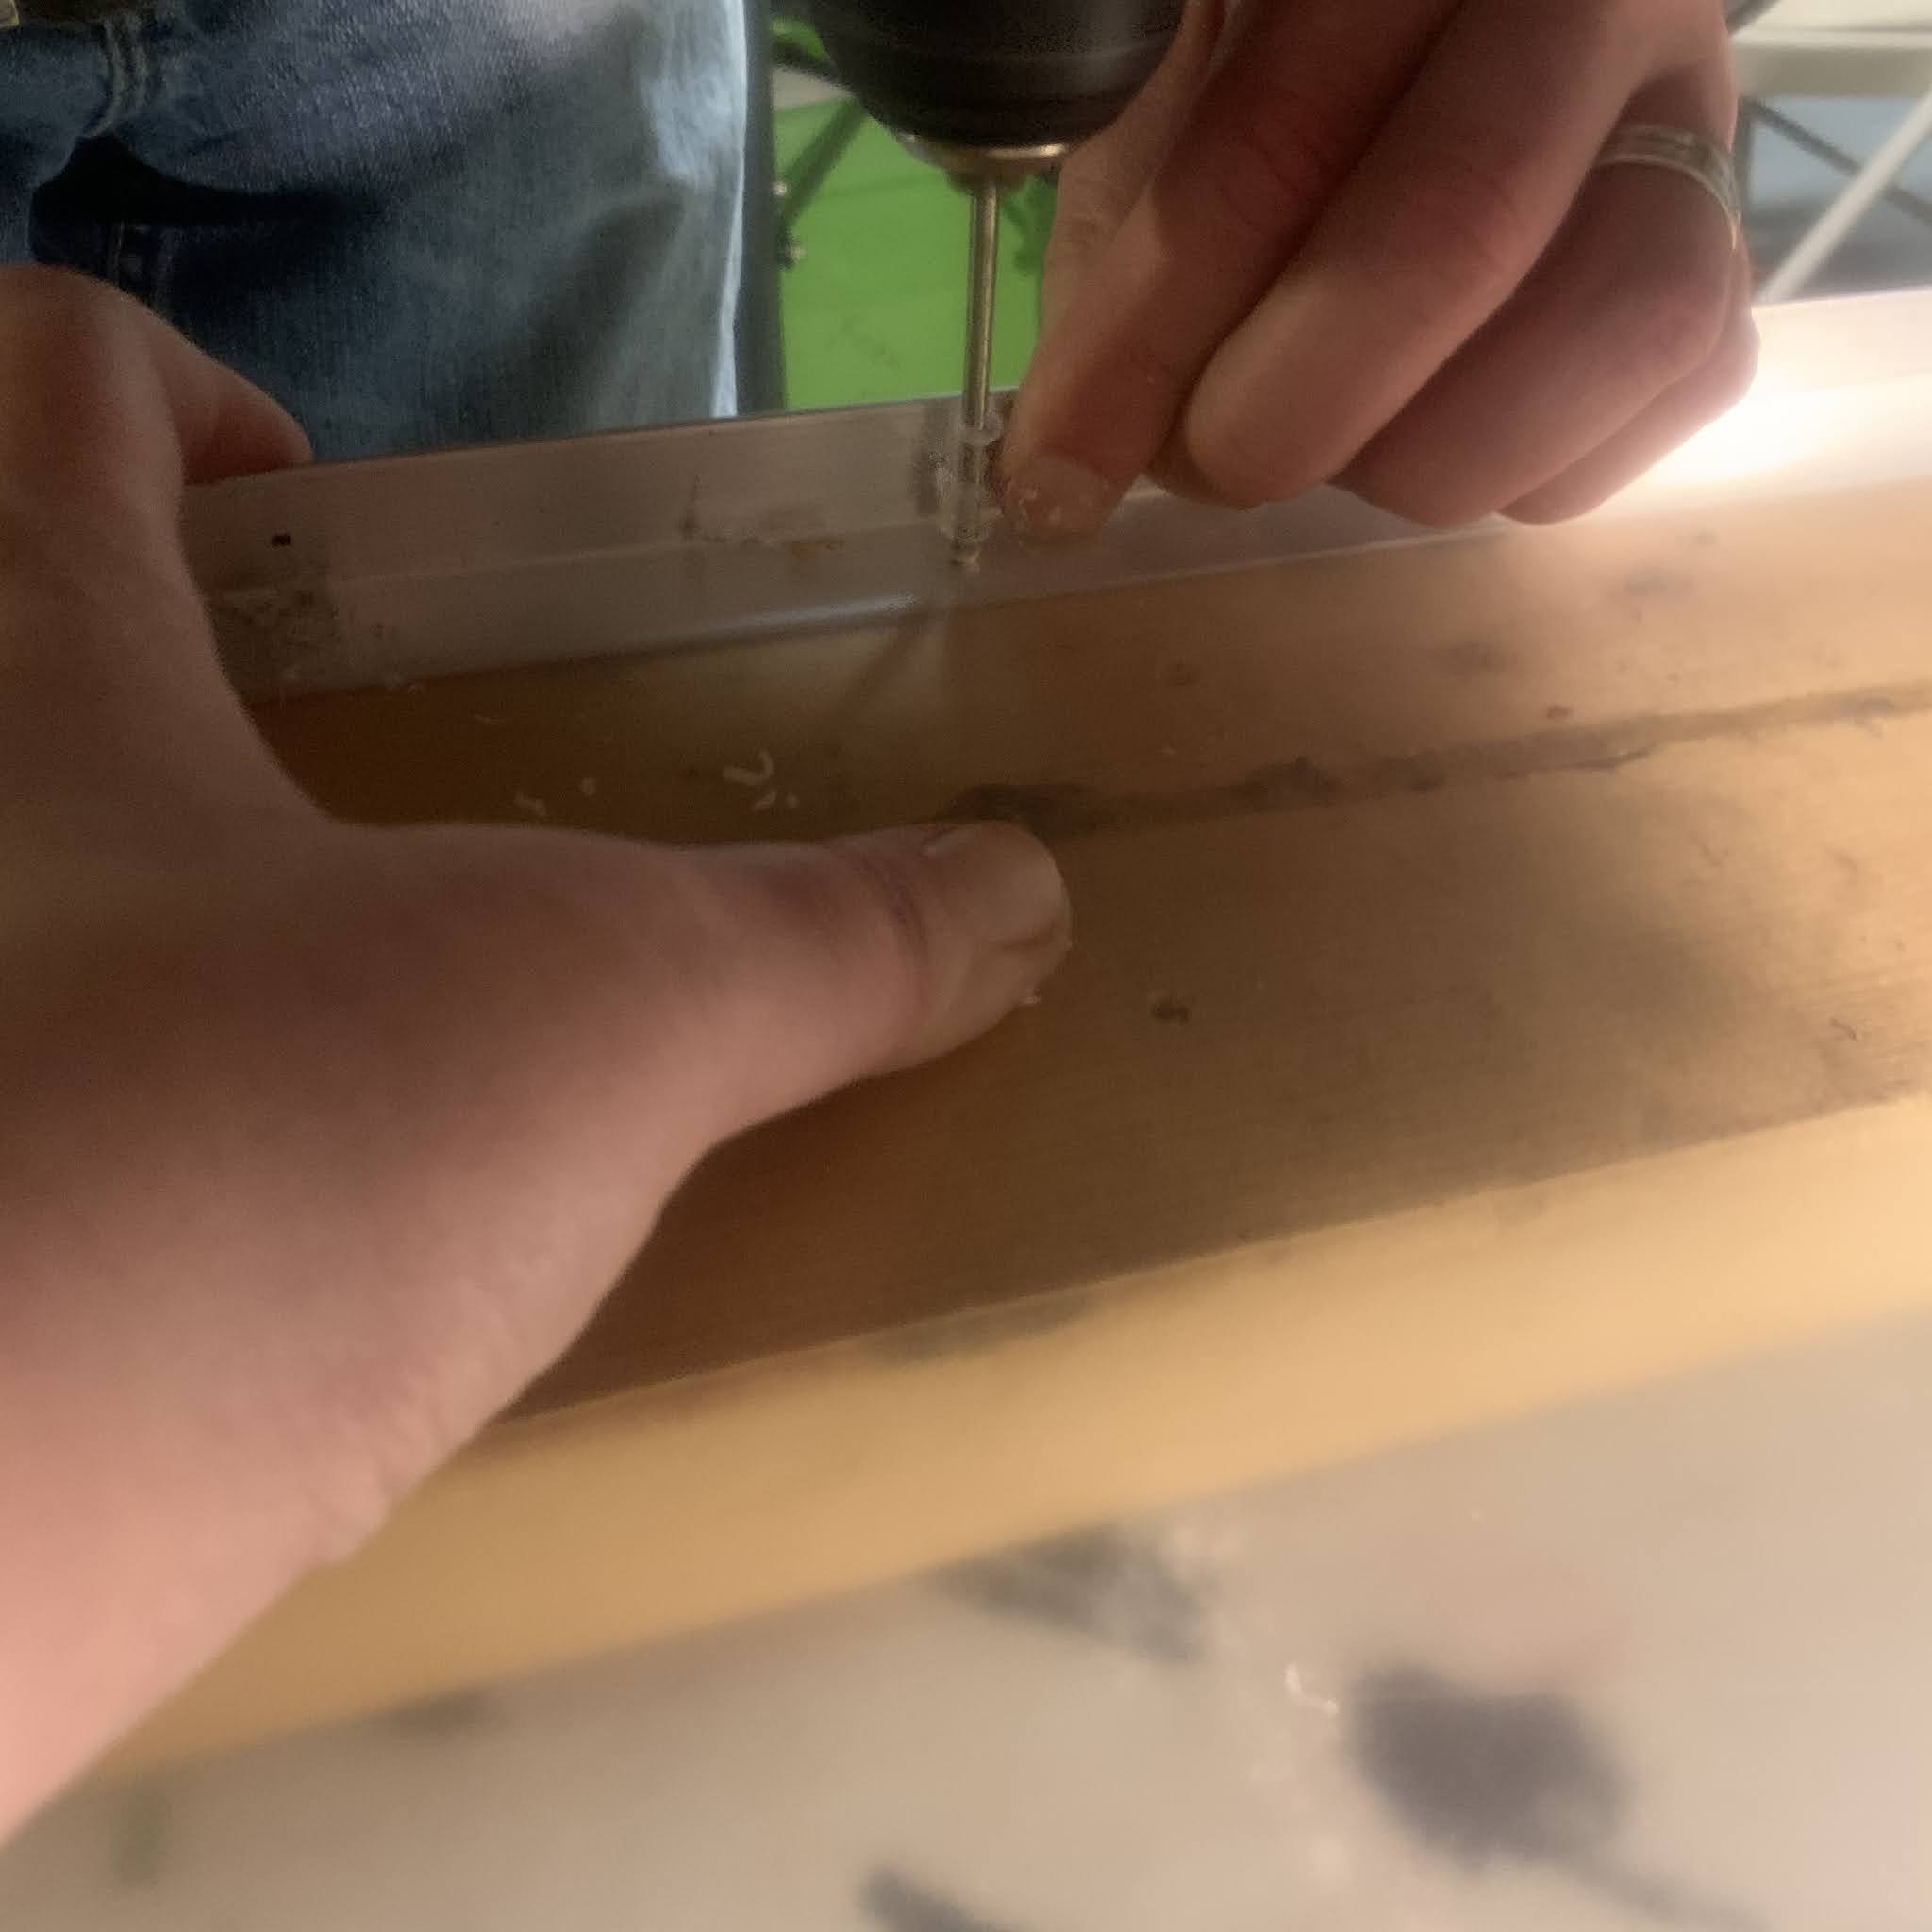
Peel protective film from left and right side of plexi, front & back. Put wood blocks under each metal side, then lay your plexiglass flat on top of marked legs, with the bottom edge sitting on the line drawn towards the bottom.  You will now drill through the plexiglass and the aluminum at the same time- hold tightly and drill, using a reamer to give yourself a cleaner hole.

Insert screws from the customer-facing edge (easier to do when you hang it over the edge of your table and screw from the floor upwards) and your nuts on the interior side that you drilled from.

Repeat on other side.

You're done! Just peel the rest of the protective film off and you're ready to use it!


I added green painter's tape to the edges to make it more visible and a clear indicator that your girls are taking precautions.  Have them decorate it with your troop number, sales pitches, and cookie images!

If you know of local Auburn/Mechanic Falls/Poland/Minot Maine businesses that would like to host us for a drive thru COVID-safe Girl Scout cookie booth in April, please let us know! Or if you’d like a virtual party for your business, let us know! We do contactless drop off throughout the local area.

Hot Mess: Painting with Wax, an intro to encaustic painting tutorial


JUST RELEASED!
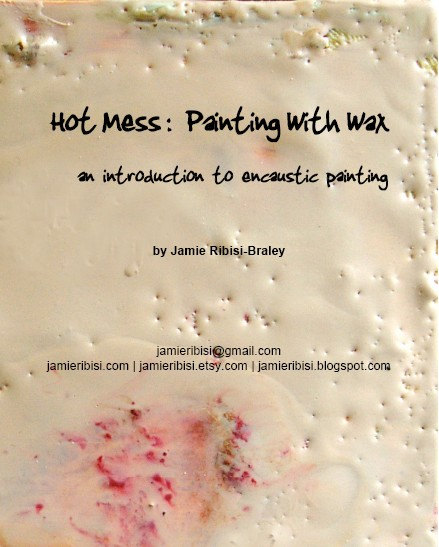
Hot Mess: Painting with Wax,  an introduction to encaustic painting PDF Tutorial 

-Want to learn encaustic painting but don't know a darned thing about it? 
-Maybe you're wanting to learn more before diving in and buying supplies? 
-Or perhaps you just love learning?

Then this is the tutorial for you! Learn everything you need to know about painting with beeswax! From set-up to clean-up. It couldn't be easier.

This
6 page tutorial is written in a joyful voice that is very easy to understand with clear photographs showing you every step of the process. Includes a handy supply list with detailed information and tips on where to find the items inexpensively! This intro will walk you through buying supplies, setting up, basic encaustic painting, fusing, embedding objects, clean up, caring for your paintings, and a list of supply resources.

**What's encaustic painting?** Encaustic painting is the use of beeswax and damar resin melted together and combined with dry pigments to create a painting medium. This paint is applied hot (not a cold paste) and manipulated with a direct heat source. This makes for a lovely layered image into which objects and photographs can be added. If you've seen a Jasper Johns painting then you've seen an encaustic painting!

I am always available & happy to answer any questions that you have about painting!


Find this and forthcoming tutorials in my Etsy Shop: JamieRibisi.etsy.com

...

Painting with wax- whatcha want to know?

I've been working hard on writing a tutorial about painting with wax.  I have the introductory 'course' written already and some other subjects like using images, embedding objects, etc.  What would you want to learn about?  If you're experienced already or just wondering about encaustic painting...what would you want to know?


Are there specific skills that you'd like to learn?  Any questions that have been wracking your brain?  Let me know!

Post here or email me at jamieribisi{at}gmail.com

I'd love to know so that I can be as thorough as possible!  I have a focus group reading my draft right now and am loving their comments!

Hello!

Welcome to my new blog!


My plan for 2009 is to bring you some great art tutorials, tips & tricks, share my work in progress, finished pieces, and favorite artists & crafters!

The project I'm currently working on is a tutorial on painting with encaustic.  You can see some teaser pics here and also a sneak peek at my newest painting- a 2 for 1 peek!

Looking forward to sharing my love of art with all my friends, readers, & fellow artists!


Powered by Blogger.