

Brian and I made two light-weight plexiglass barrier shields for COVID-safe Girl Scout cookie booths! They cost about $30 each in materials at this size.
The idea is that they are freestanding but they can also be clamped to the table for wind. They are 28x30 plexi with a 3” opening to slide their cookie orders through — I’m calling that the “Covid Cookie Connector”.

Material list (makes two barriers):
*2 pieces 28x30” plexi (~$19 each)
*one 8 foot length aluminum angle 1/16 x 3/4 (from hardware store sheet metal section) (~$11)
*machine combo screw/nut round #6 32 x 3/8” (10 per screen: 1 box of 100 ~$5)
*drill with a corresponding drill bit for selected screws; optional reamer bit
*phillips head screwdriver
*hacksaw
*measuring tape
*marker
*sandpaper
*scrap wood for drilling block
*safety goggles, duh
 |
| This is what the sheet metal section looks like. |


Step 1:


Step 2:
We're going to start drilling holes for feet -- for the left side, put the end of one 16" length perpendicular to the center of one 8" length. *Keep in mind that you want the foot (8") to have its L angle facing like a proper L for this side. The interior upright 16" length should have one side touching the interior outer edge of the foot and its other side furthest away from you. With these sandwiched together on the side and on top of your scrap wood, drill a hole in the center of their meeting point. Attach screw from the outside and nut on interior.
Repeat MIRROR IMAGE orientation with to create the right side.

Step 3:
We're going to start drilling holes through the side uprights to hold the plexi on. We wanted to have a pass-through opening on the bottom that would fit a box of Girl Scout cookies so we gave a 3" clearance.
From the bottom of both 16" uprights, on the L angle furthest from you, measure 3" upwards and mark with a line, continue to measure up every 3" with a dot in the center of the aluminum. Repeat on the right side aluminum.
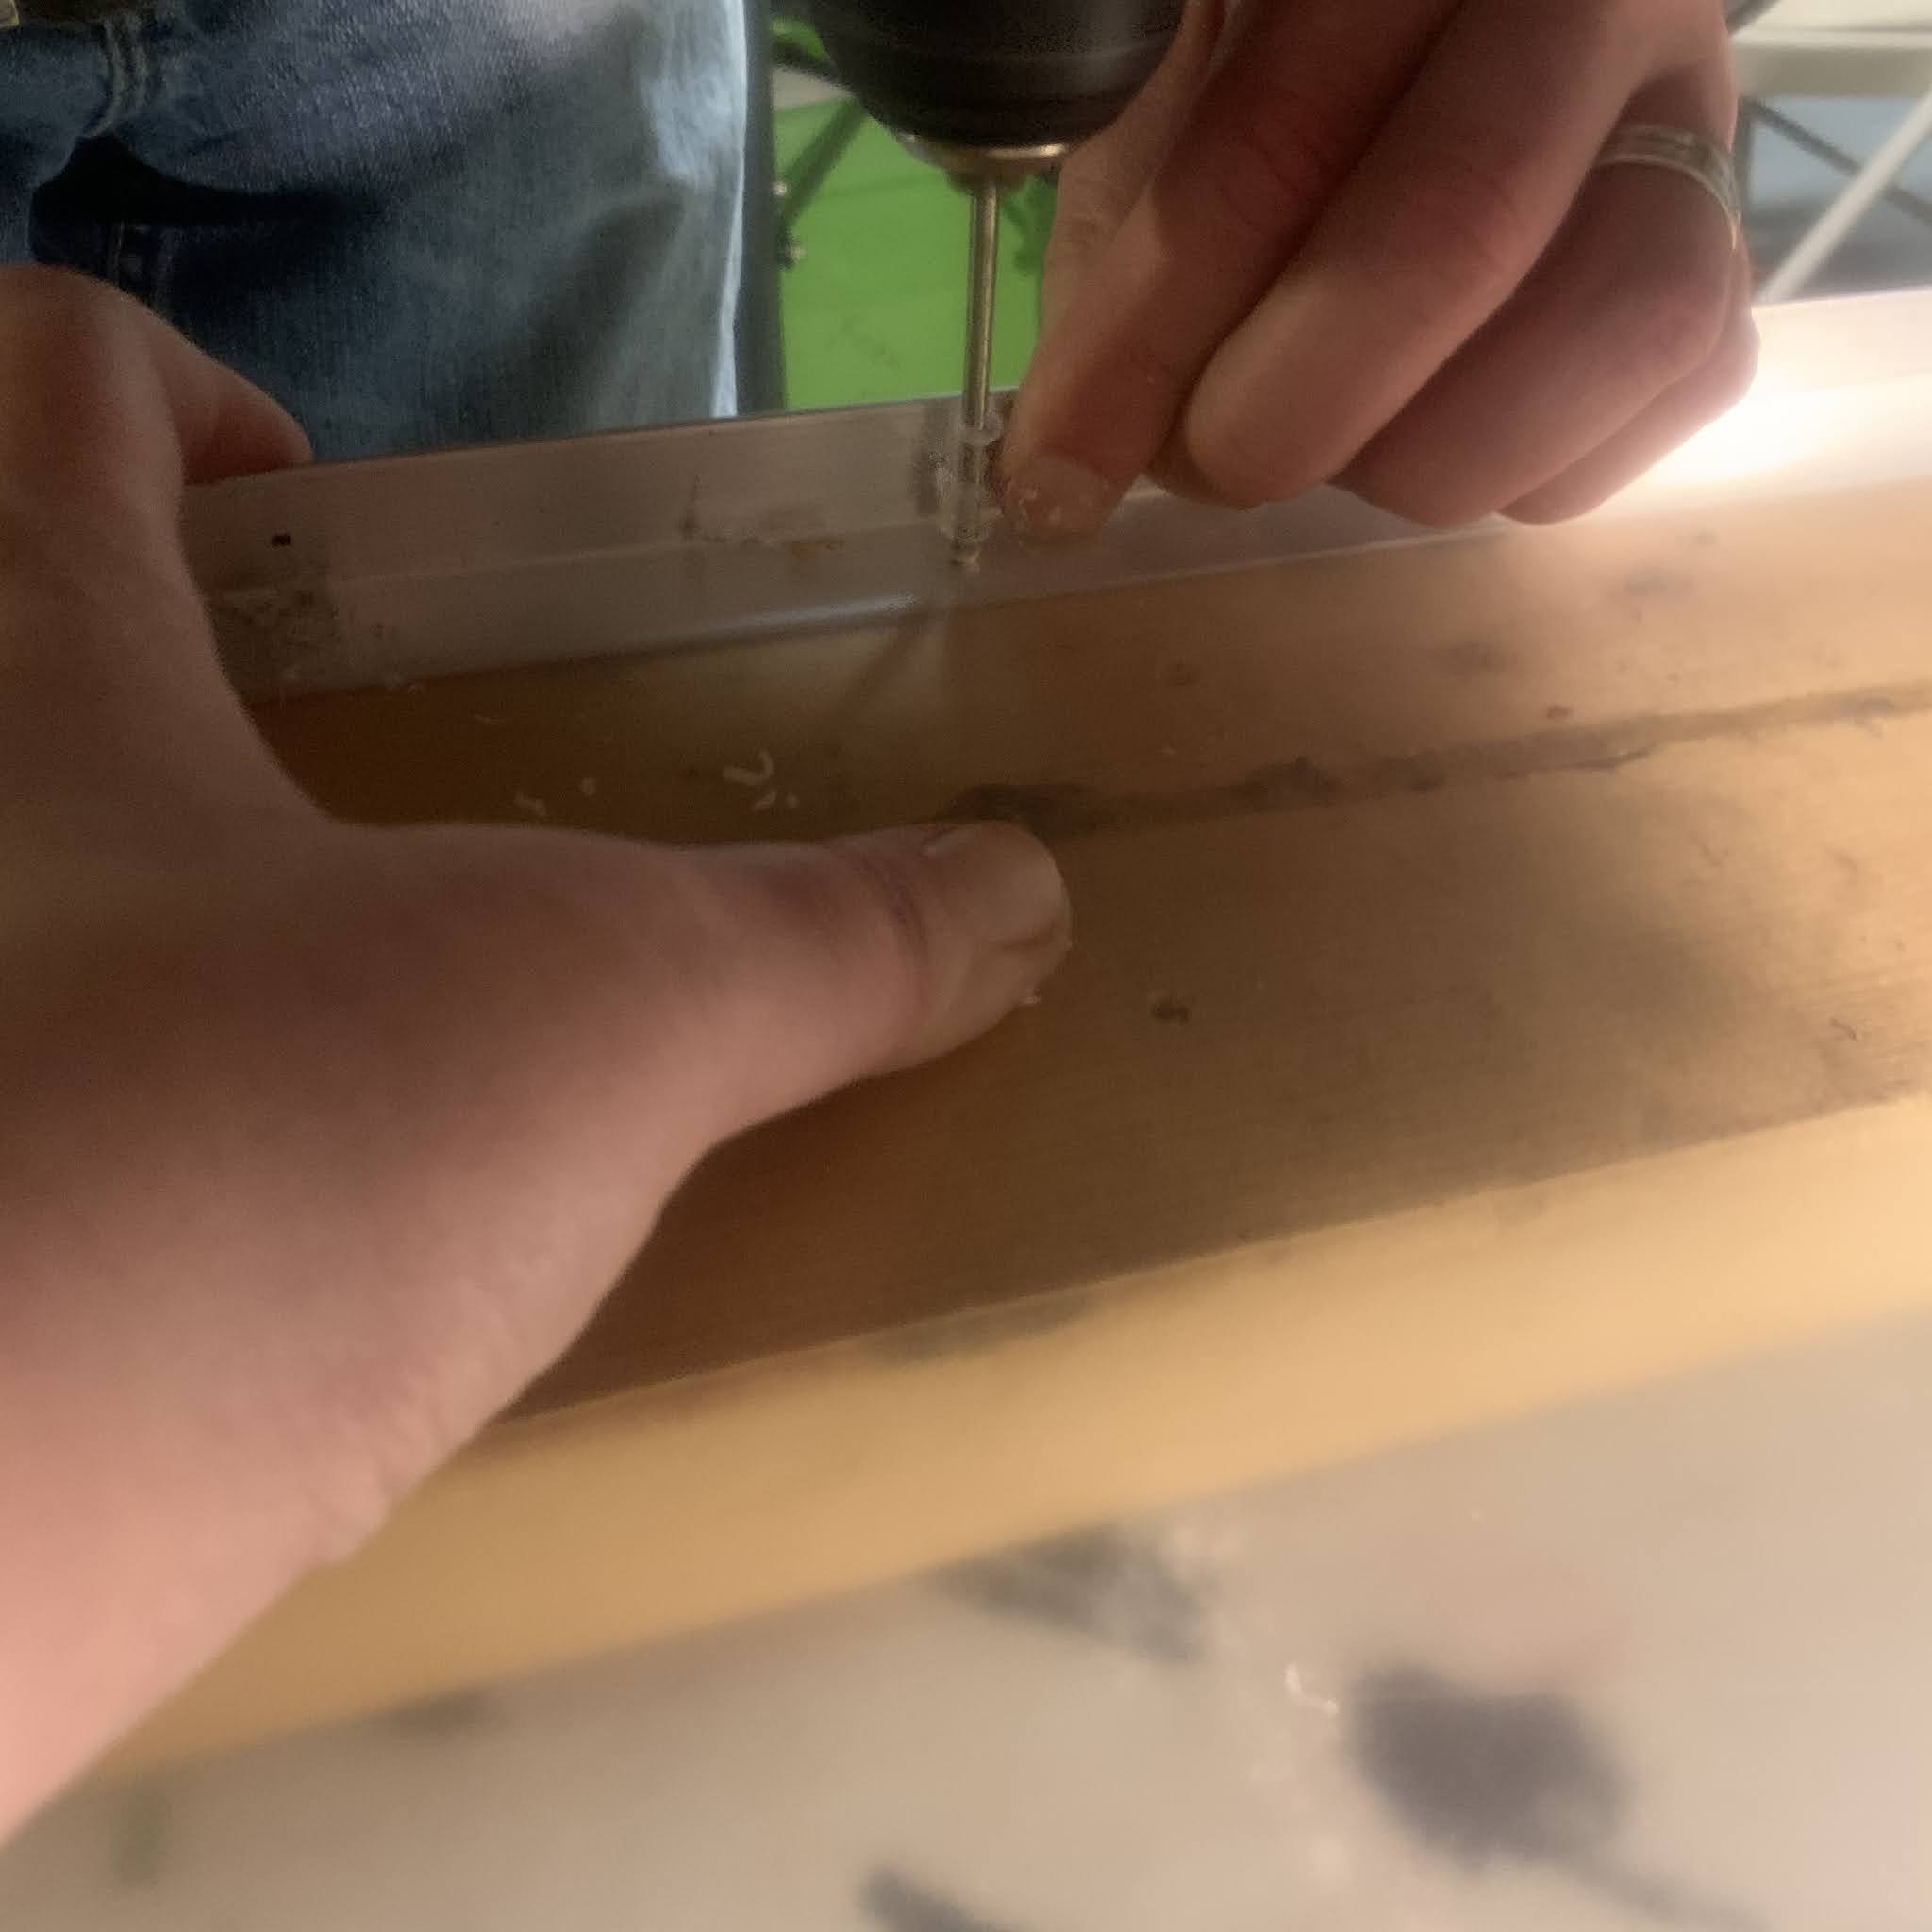
Peel protective film from left and right side of plexi, front & back. Put wood blocks under each metal side, then lay your plexiglass flat on top of marked legs, with the bottom edge sitting on the line drawn towards the bottom. You will now drill through the plexiglass and the aluminum at the same time- hold tightly and drill, using a reamer to give yourself a cleaner hole.
Insert screws from the customer-facing edge (easier to do when you hang it over the edge of your table and screw from the floor upwards) and your nuts on the interior side that you drilled from.
Repeat on other side.
You're done! Just peel the rest of the protective film off and you're ready to use it!


I added green painter's tape to the edges to make it more visible and a clear indicator that your girls are taking precautions. Have them decorate it with your troop number, sales pitches, and cookie images!
If you know of local Auburn/Mechanic Falls/Poland/Minot Maine businesses that would like to host us for a drive thru COVID-safe Girl Scout cookie booth in April, please let us know! Or if you’d like a virtual party for your business, let us know! We do contactless drop off throughout the local area.


